How to make a full width 50/50 post slider with Beaver Builder
Post Sliders in BB work pretty well out of the box. But you can add a little magic to them to do a bit more. In this tutorial, I’d like to show you how we achieved the post slider checkerboard effect shown below.
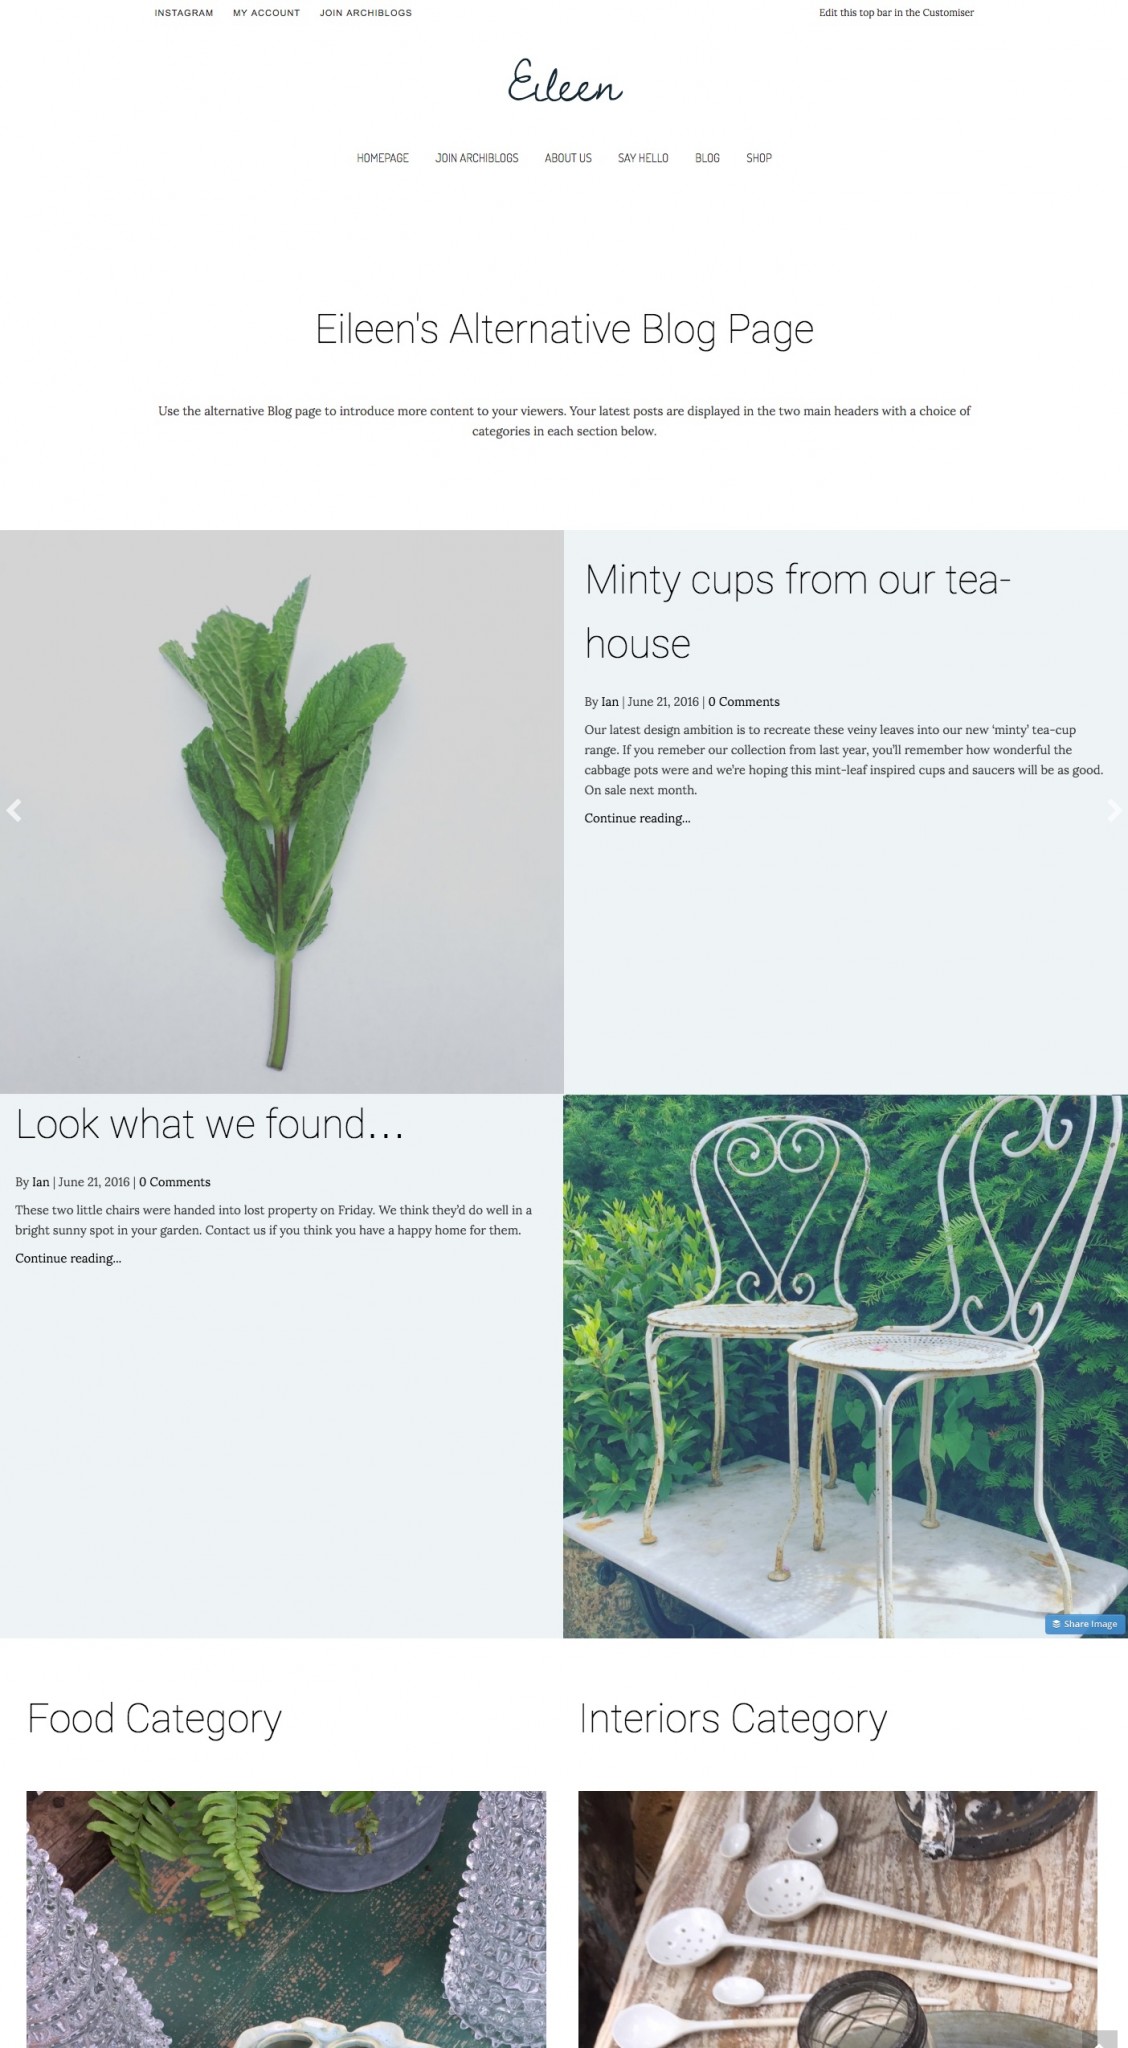
You’ll notice on the page, two post sliders stacked one on top of each other, one with an image left and post content right and the slider below that in reverse. The Beaver Builder theme is responsive so when you scale down the viewport, the slider automatically stacks to fit smaller screens and in this case, it stacks the image on the top and the post content below for both sliders.
Getting your slider to look and work this way is not as easy as dragging the module to your page and setting 0px on margins and padding. Here’s how we achieved the effect:
Setting up the row and module
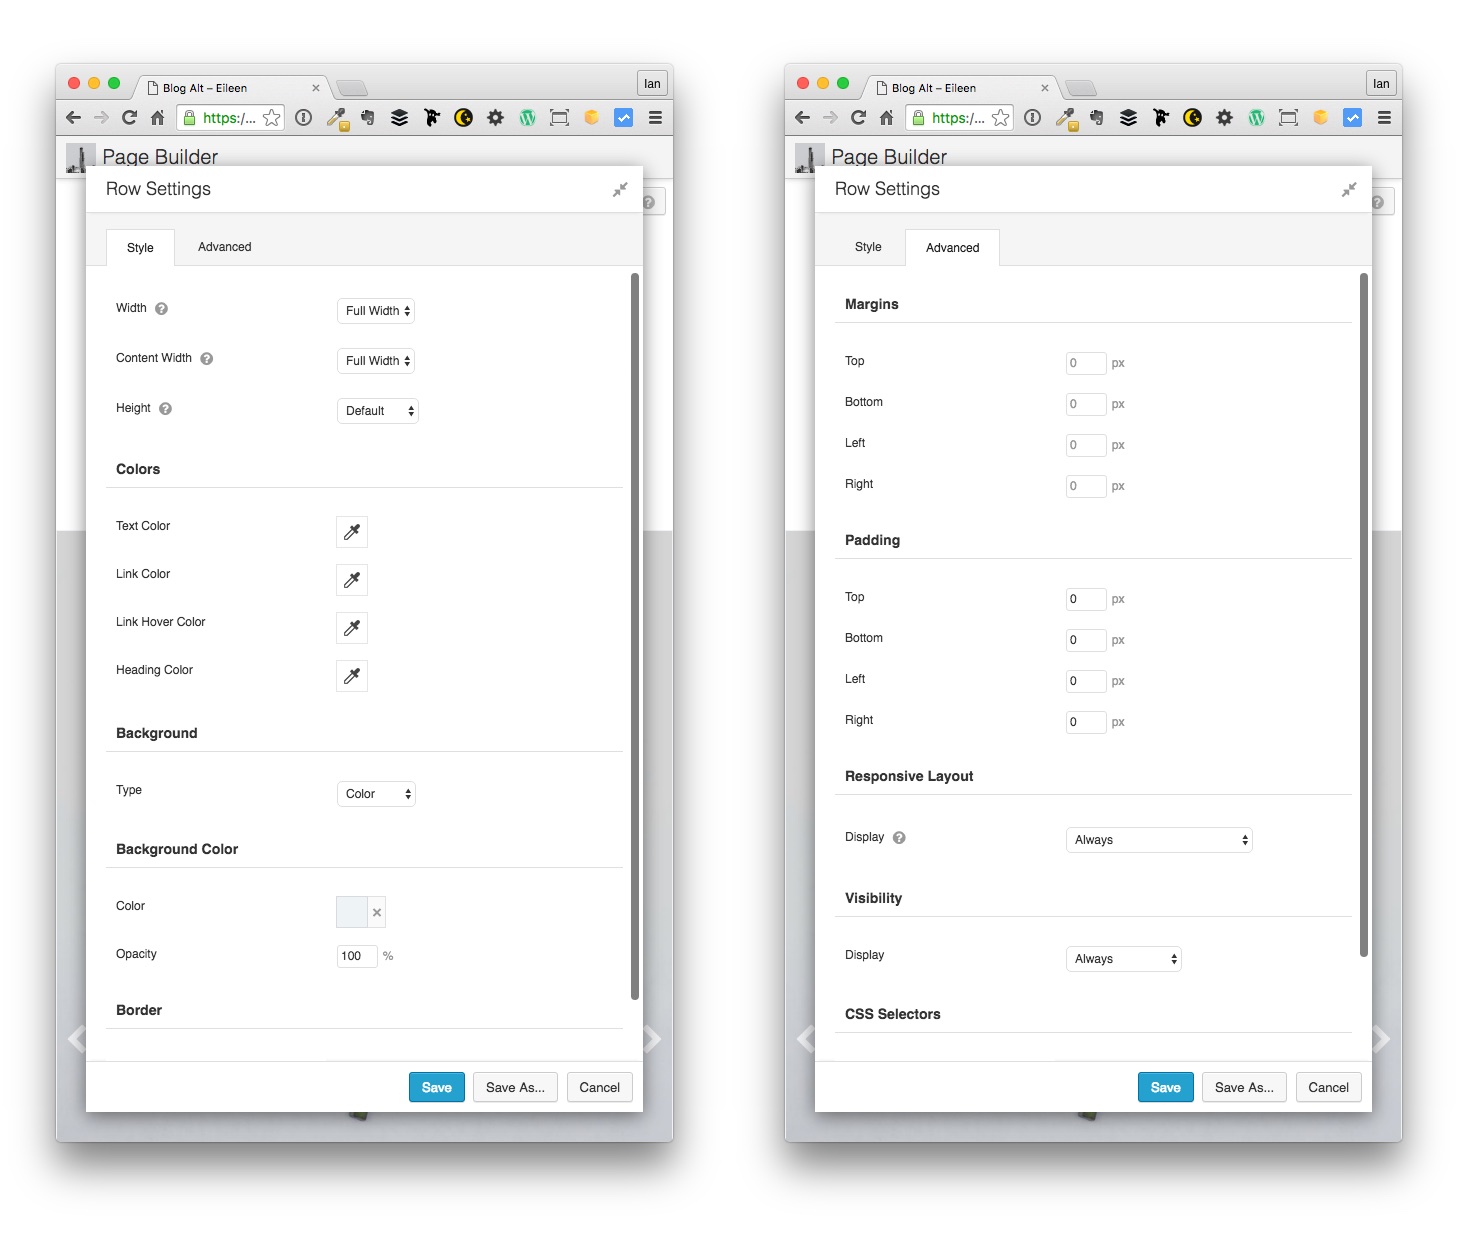
Drag a post module to you page and set your row to full width, content to full width. You’ll need to set your left and right margins and padding to 0px to ensure that the post slider fills the entire viewport, edge to edge.
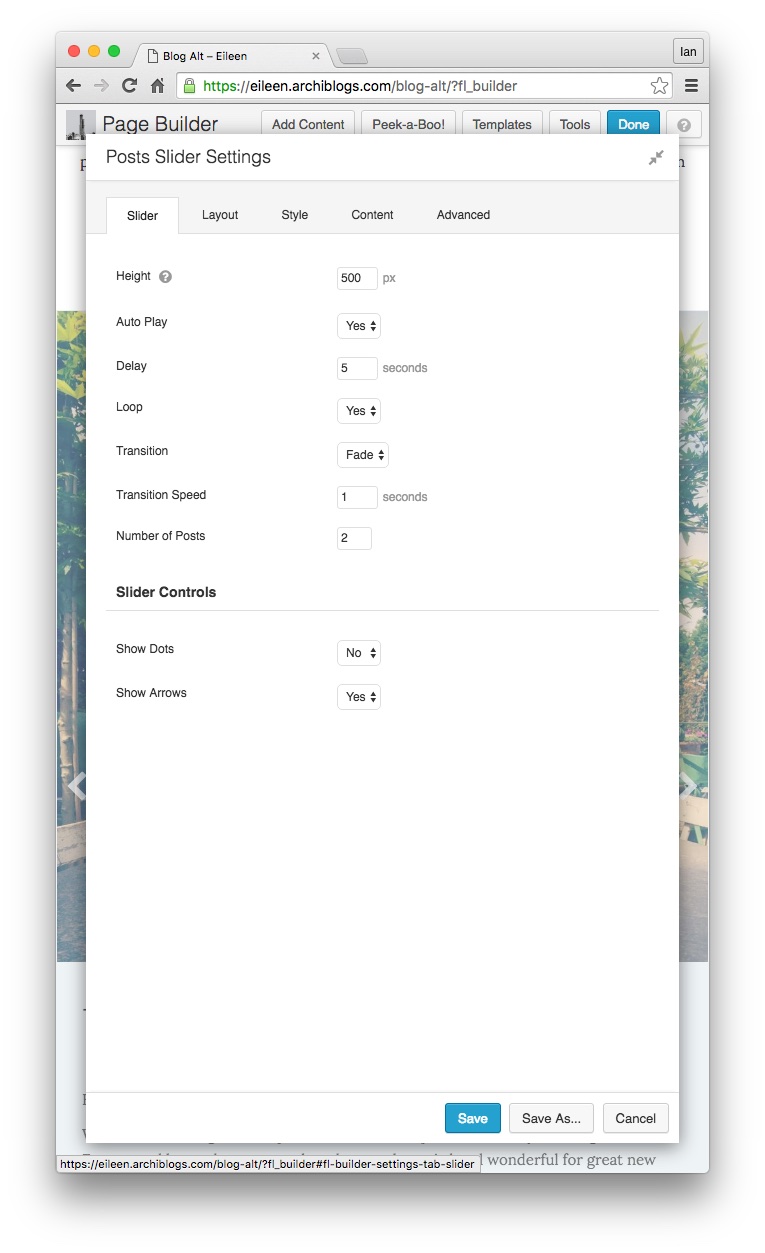
Next, open up the Post Module settings and make the following edits. We’ve chosen to set our slider height at 500px, with a looped, auto play, fade transitions and arrows displayed. Turn off ‘Show Dots’.
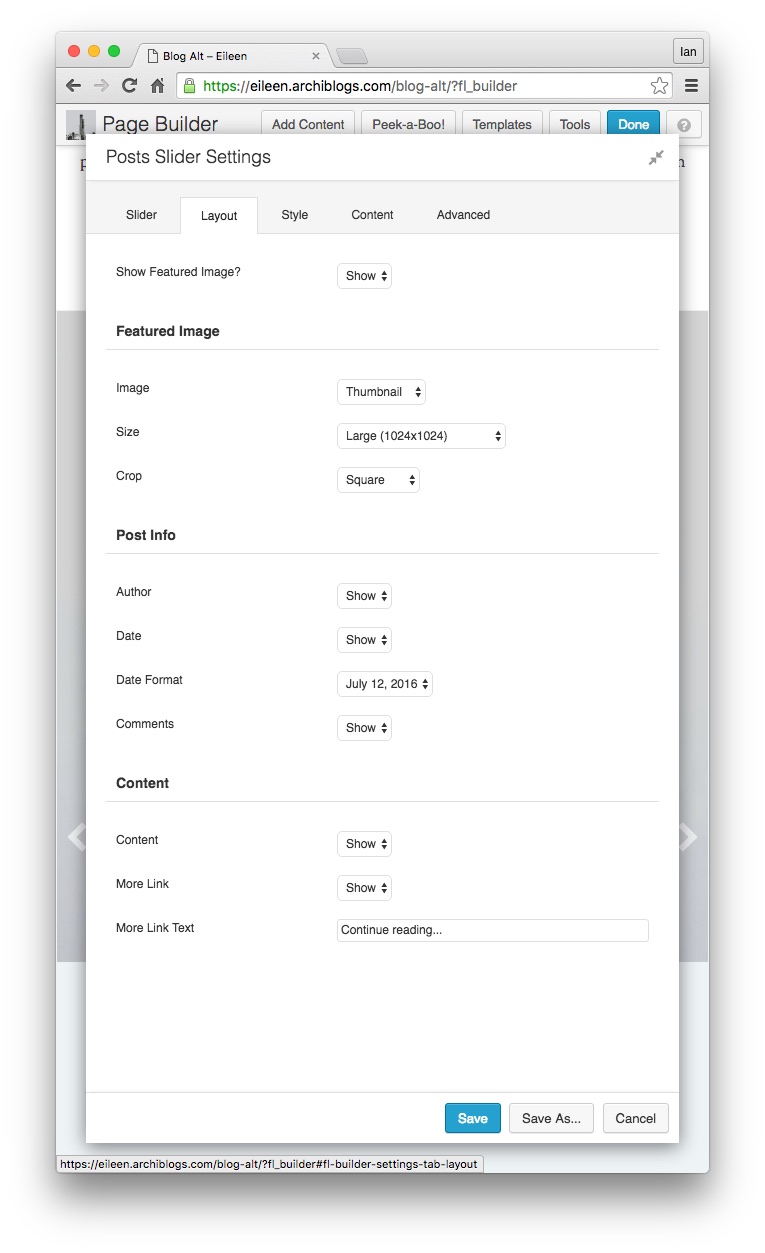
For layout settings, choose to show the featured image and make sure you choose Thumbnail as the Image size choice and set it at large size. Crop the image square. Make a choice on whether or not to show post info; this will display in the right hand column under the title.
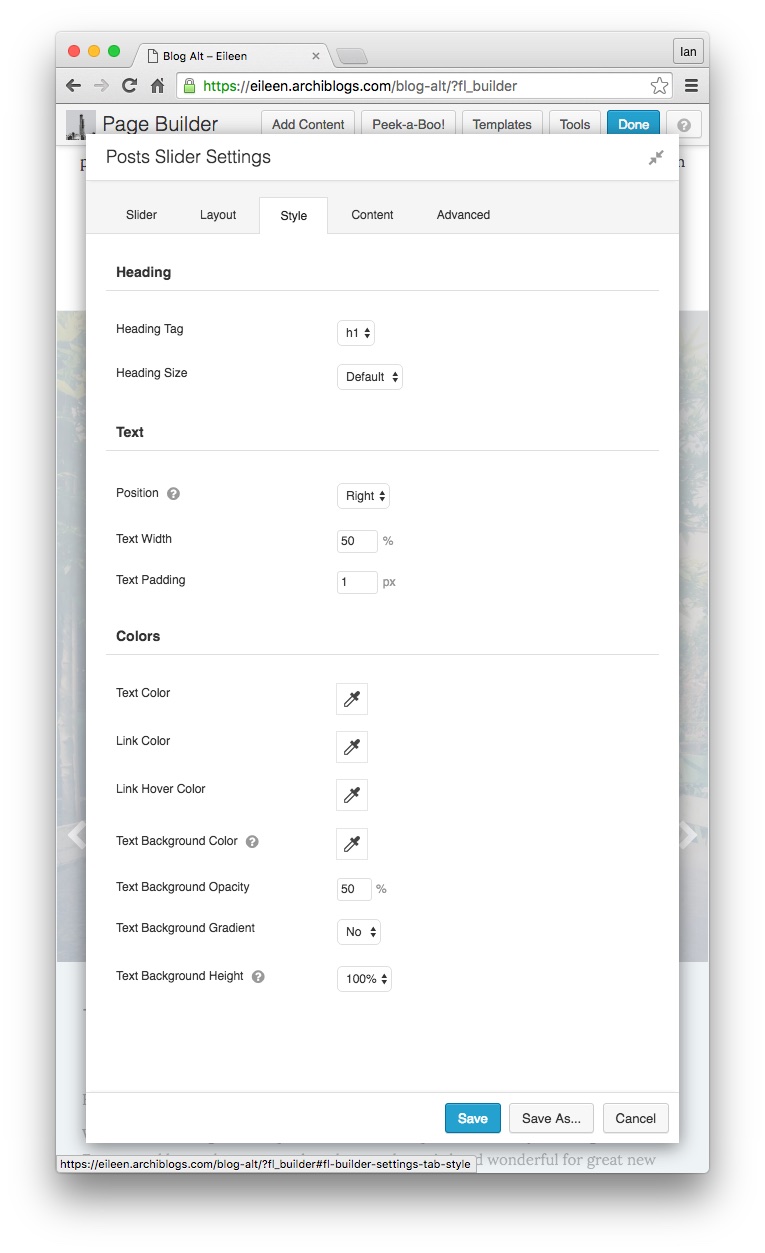
In the style settings, choose your heading text style and then in the text options, choose your post content position – right in our case. Make the text width 50% and then, crucially, make sure you set your text padding to 1px. If you choose 0px here or anything else, it messes up the effect. So 1px is important. When you set it like this, you will notice the 1px line down the left hand side of the image – but I’m guessing you didn’t notice that until I told you. 🙂
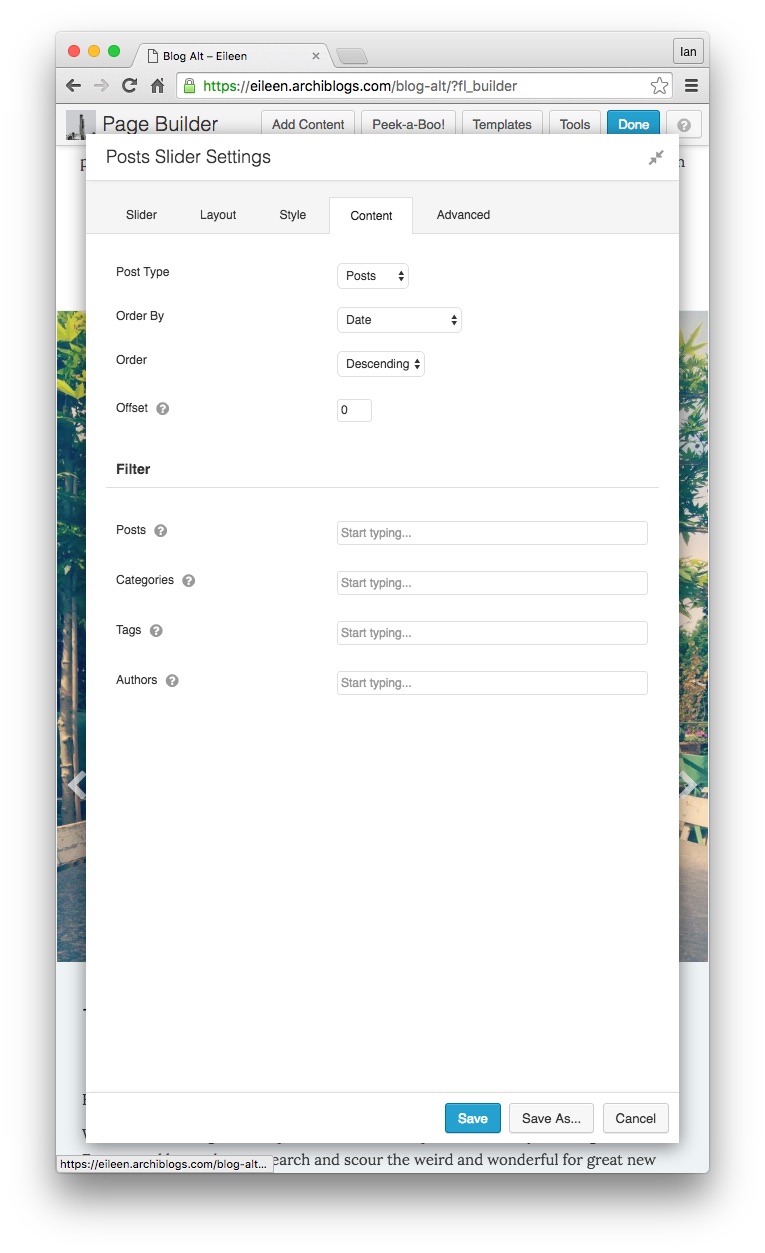
Next, choose which post type to display and filter your posts if necessary.
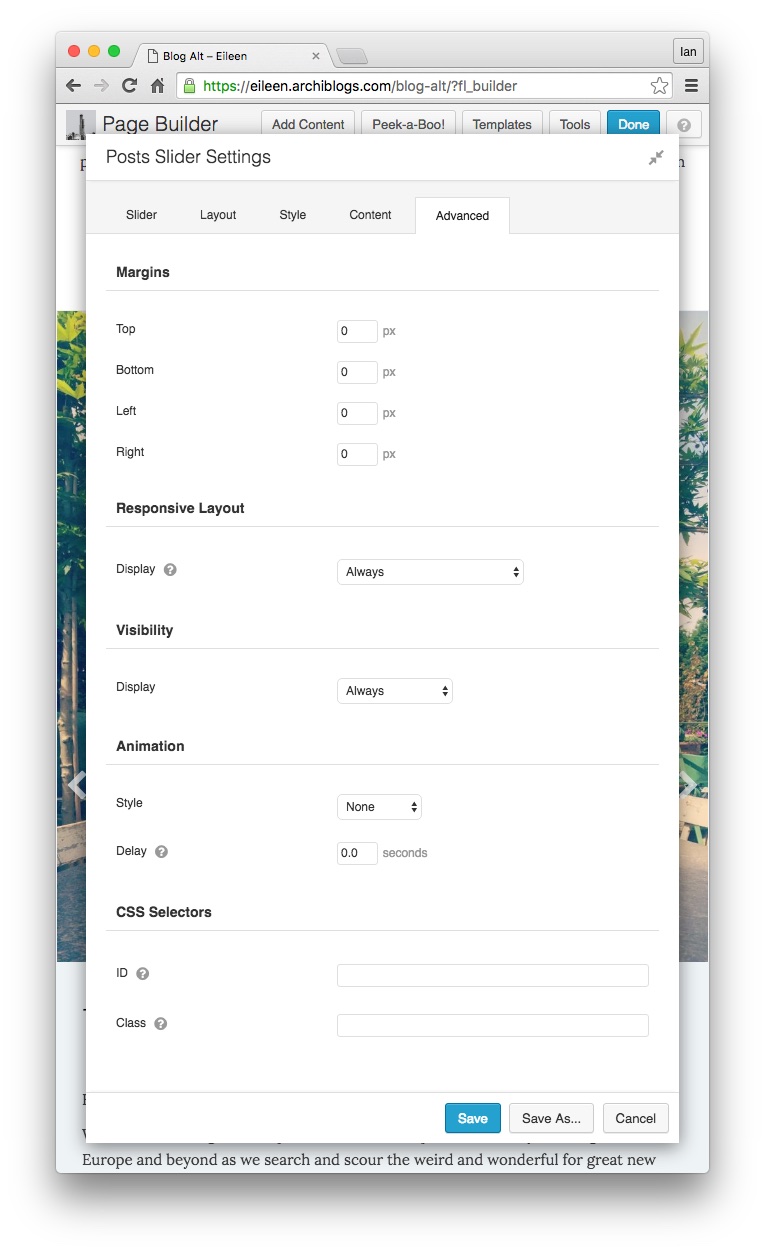
Finally, set your margins in the advanced tab to 0px.
Save your module. You’ll notice that the post content text is stuck to image – so to fix that we need to add this CSS. Either via Global settings or layout settings if your slider is only on one page. If you only want to target a specific slider then add a CSS name to the slider’s advanced settings field and add the CSS declaration to this code:
.fl-post-slider-content {

padding: 25px;

}
That’s it. Save everything the and see if it works for you. Have a better way? Let us know in the comments below.