TAKE OFF! Part 3: Beaver Builder Theme
This is the third post in our TAKE OFF! series, helping new users get to grips with the Beaver Builder Theme. Check out Part 1 and Part 2 where you can read more about Beaver Builder, how to install it and discover more advanced features.
In this post, we’re looking at the Beaver Builder theme, the Beaver Builder Child Theme and why you’d want to use the Beaver Builder shortcodes in your layout. Let’s dive in…
The Beaver Builder Theme
If you’ve bought the Agency or Pro version of the Beaver Builder Page Builder then you’ll get the beaver Builder theme and child theme. Visit your Beaver Builder account and download the files. As we mentioned in previous posts, the theme is not a pre-requisite for using the Beaver Builder plugin. However, it is 100% compatible with the plugin and many seasoned WordPress designers and developers that otherwise would have used 3rd Party themes are now converting sites to the Beaver Builder theme for consistency and ease of use.
The theme is built on the Bootstrap 3.0 framework, so if you’re familiar with that it opens up a host of customisation options to you. The theme also uses Font Awesome 4.0 so, again, great for displaying font icons anywhere on your site. For instance to add this bell to your page, just drop in the Font Awesome code and your set:
The beaver Builder theme offers all of the standard page design element controls you would imagine with a WordPress theme and everything is controlled from the WordPress Customiser. Beaver Builder is investing a lot of time improving the features of the theme but there are a lot of powerful settings, options and tools available to do just about anything with the layout and design.
To find out about the Customiser theme settings, head over to the Beaver Builder knowledge base where you find a comprehensive description of all of the options.
If you’re wondering whether or not you should use the Beaver Builder theme or any other theme, BeaverAddons has a great article that might help you make a decision.
Working with the theme
The Beaver Builder theme, like any other WordPress theme, is comprised of 4 basic editable areas – header, footer, body and sidebar; collectively known and the content area. You can set options for any of these areas in the Customiser.
Beaver Builder Presets
There are a number of theme presets available if you’d like to get started with a theme framework design. For the most part, you’d want to build up a unique design so we always use the default preset.
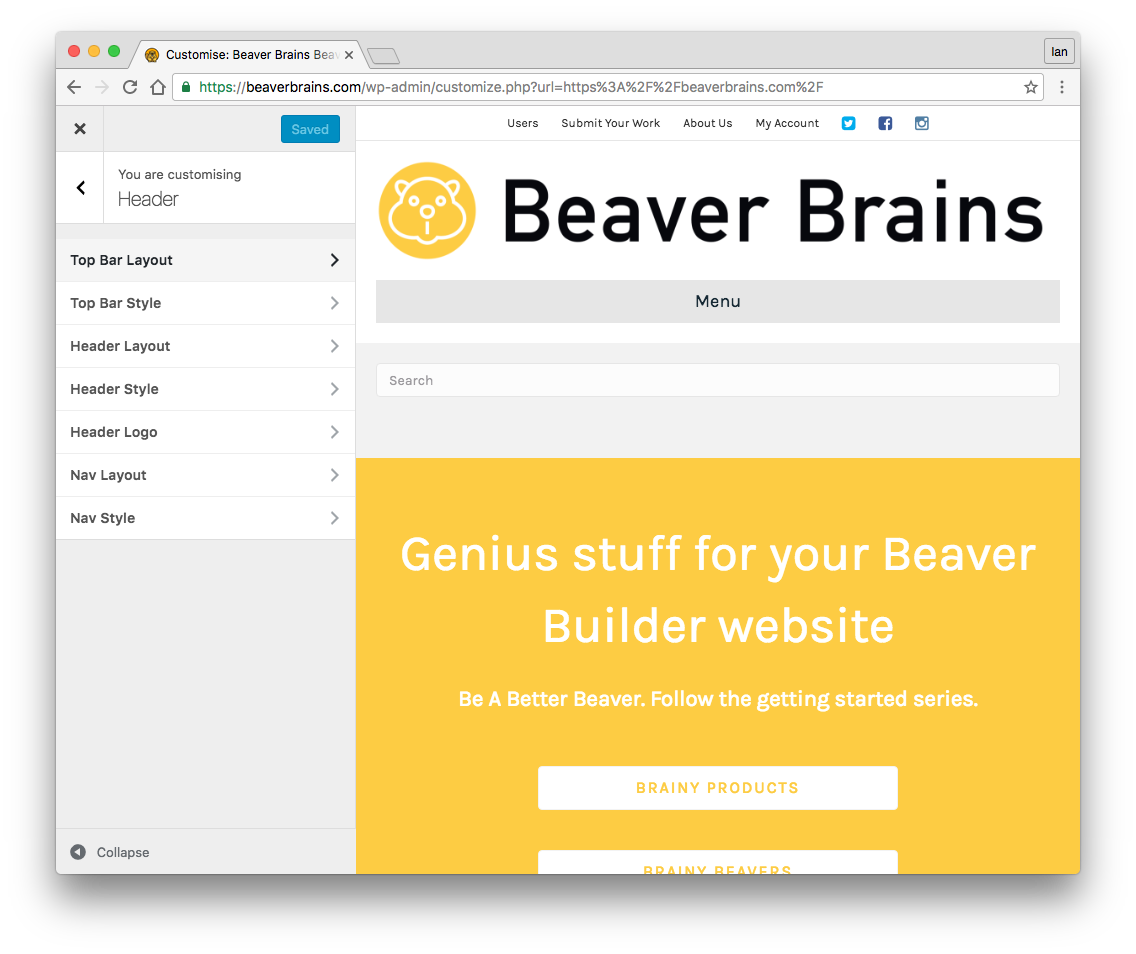
Header Options
The Beaver Builder theme header options control the look and feel of the header for your site – you have options for menus, logo, layout and top bar. On this site, we’re using a top bar and a Nav Centred header layout which places our logo and menu centrally stacked on the page.
Explore the options including, side header layout, general header colours and more.
The one limitation with the Beaver Builder theme is transparent headers and that’s planned for the next version of the theme. To achieve the look, you currently need to use one of the available hacks or install Jon Mather’s excellent Beaverlodge Transparent Header plugin.
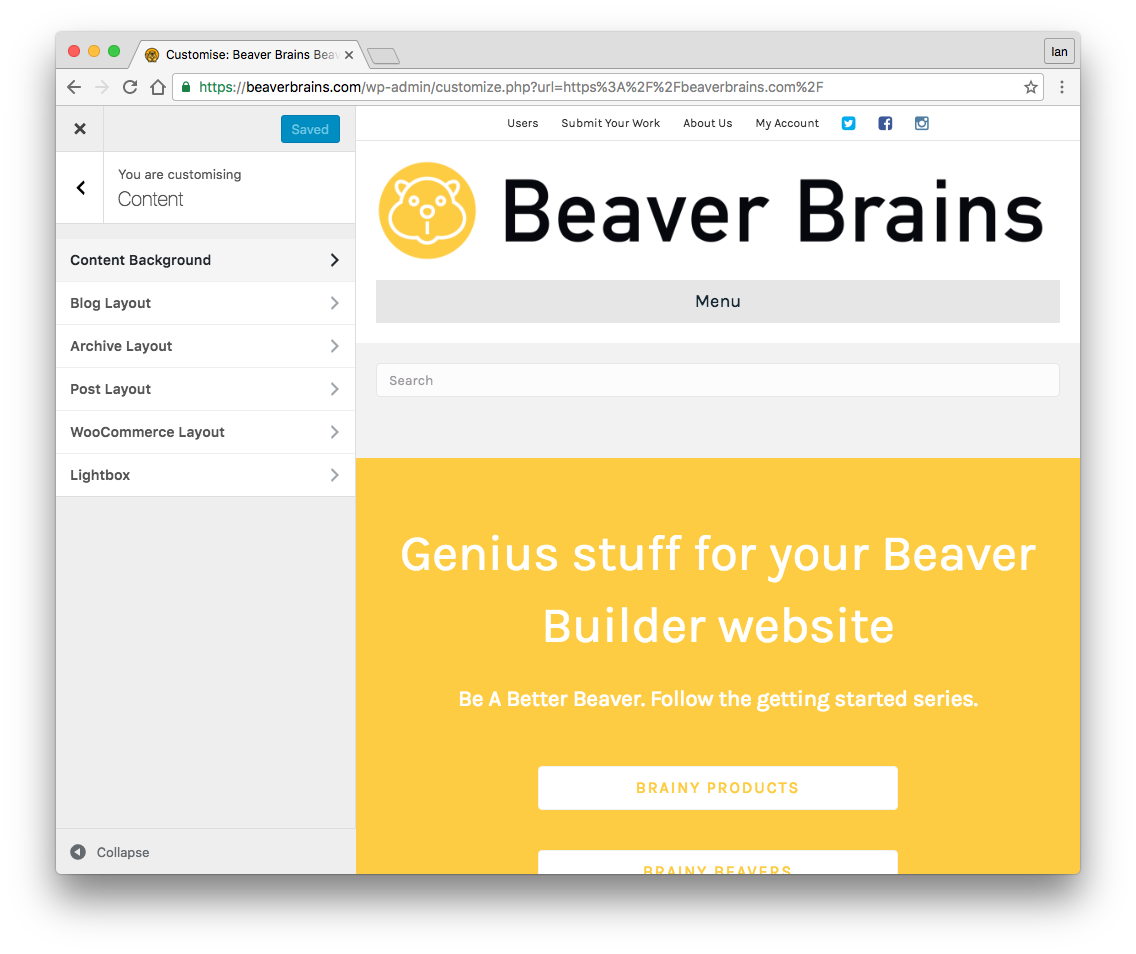
Content Options
The body and sidebar areas of your site make up the Content area and is controlled by the Content tab. Here you can set options for the general background colour for your site, the blog, archive and post layouts, and if you have WooCommerce installed, you can set options for that too.
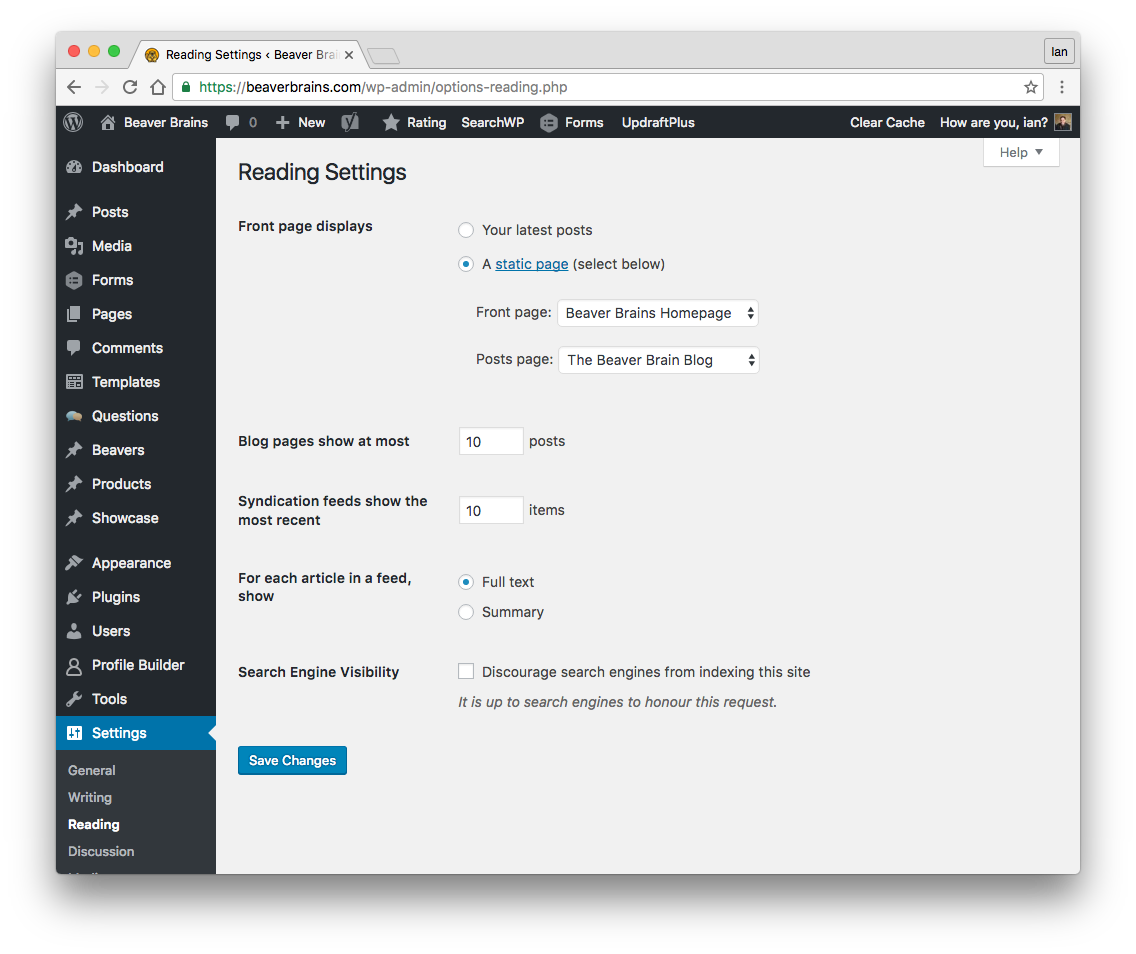
The Beaver Builder blog page is any page you assign as your posts page in the WordPress–>Settings–>Reading settings. You can style this page using the Blog Tab in the Content Customiser.
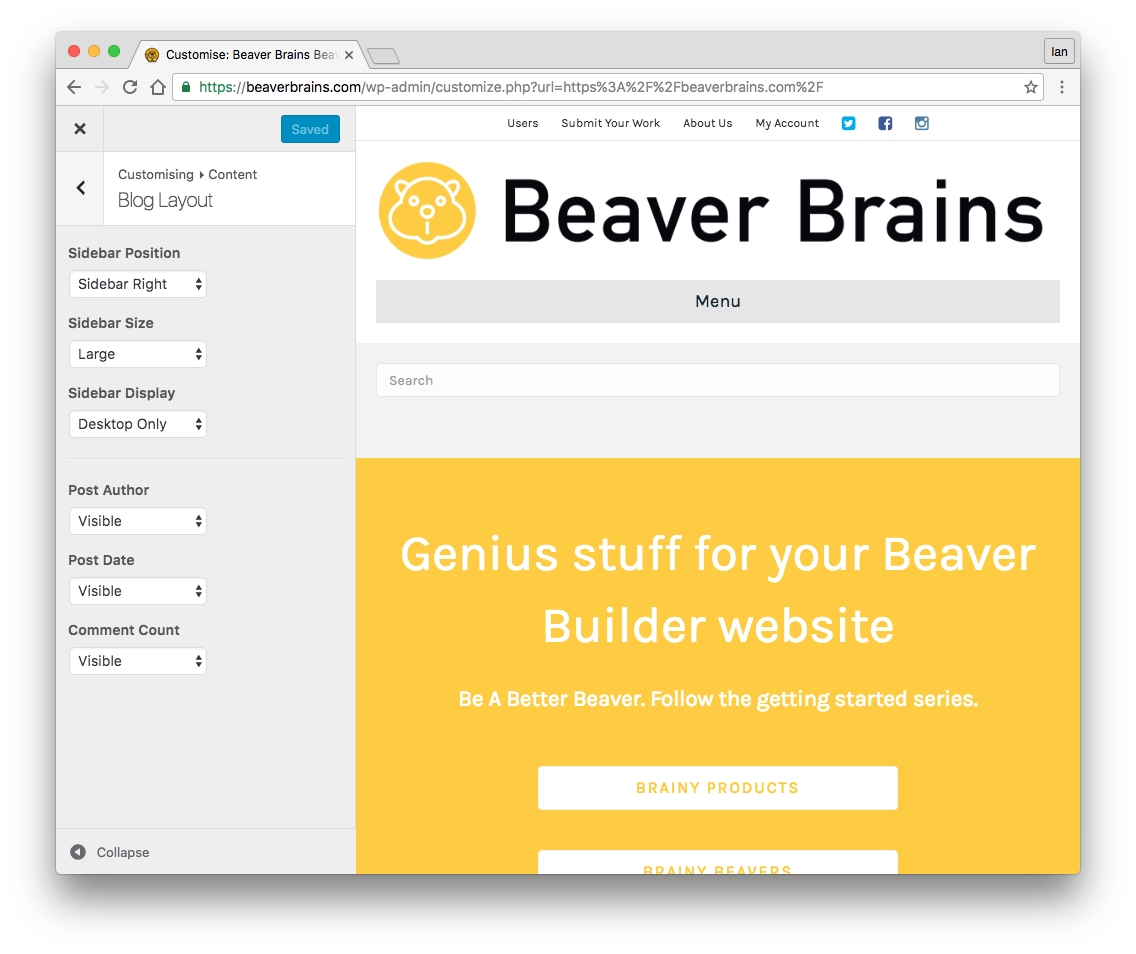
Navigating to the Blog tab, you’re given the option to display a sidebar and set display options for the post meta; author, date and comment count.
The Archive tab offers further styling options for your blog, category, tags and author archives and you can choose to display header images, excerpts and read more links.
The Post Layout tab probably offers the most opportunity for improvement in the Beaver Builder theme. These options determine how your single posts are displayed and for many Beaver Builder theme users, these options are fairly limited. More options to control the header image size and position, the title layout options and meta text positions would be most welcome but for now, you’ll need to use child theme hacks or add-ons to achieve advanced controls. There is a lot of work being done by Beaver Builder and 3rd party developers in this area so expect quick changes here…
Footer Options
The footer tab controls the display of widgets in your footer and the layout and style of the footer below your widget area. Beaver Builder allows you to manipulate 4 columns in your footer where you can add widgets from the WordPress–>Appearance–>Widget settings or within the Widgets tab of the Customiser.

One of the cool features in the Beaver Builder footer theme is the Parallax Effect – enable this to allow the content area of your site to slide up over your footer and make the footer look as if it’s stuck to the base of your page. Scroll to the bottom of our site to see the effect.
Custom Code
You can add custom CSS and JavaScript to your theme by using the Code tab in the customiser. This is for global CSS and script resources and will render on every page on your site – Beaver Builder allows you to also insert code in specific areas; within the Head, the site Header and footer. For instance, you can use the code tab to insert your Google Analytics tracking code for your site.
WordPres Menu
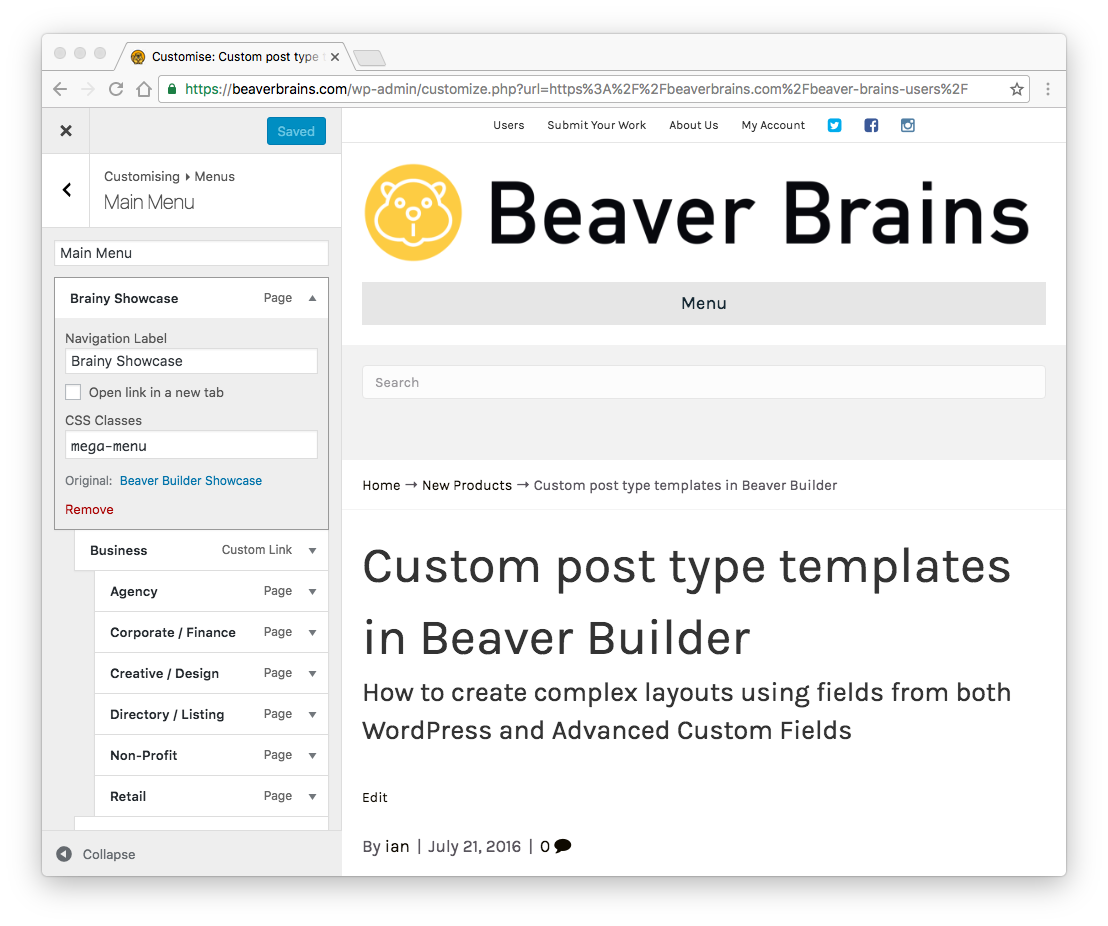
The Beaver Builder Menu tab gives you access to the menus you would like displayed on your site. Beaver Builder includes three menu locations; Top Bar, Header Menu and Footer Menu. Use the menu settings as you would for any WordPress site and if you’d like to add a mega-menu just add the CSS class ‘mega-menu’ to the top level menu item to achieve this.
Beaver Builder Child Themes
Child themes are the best way to achieve a unique look for your site and enable you to customise your site without messing with the main Beaver Builder theme files – if you do, you may lose your customisations when you update the Beaver Builder theme.
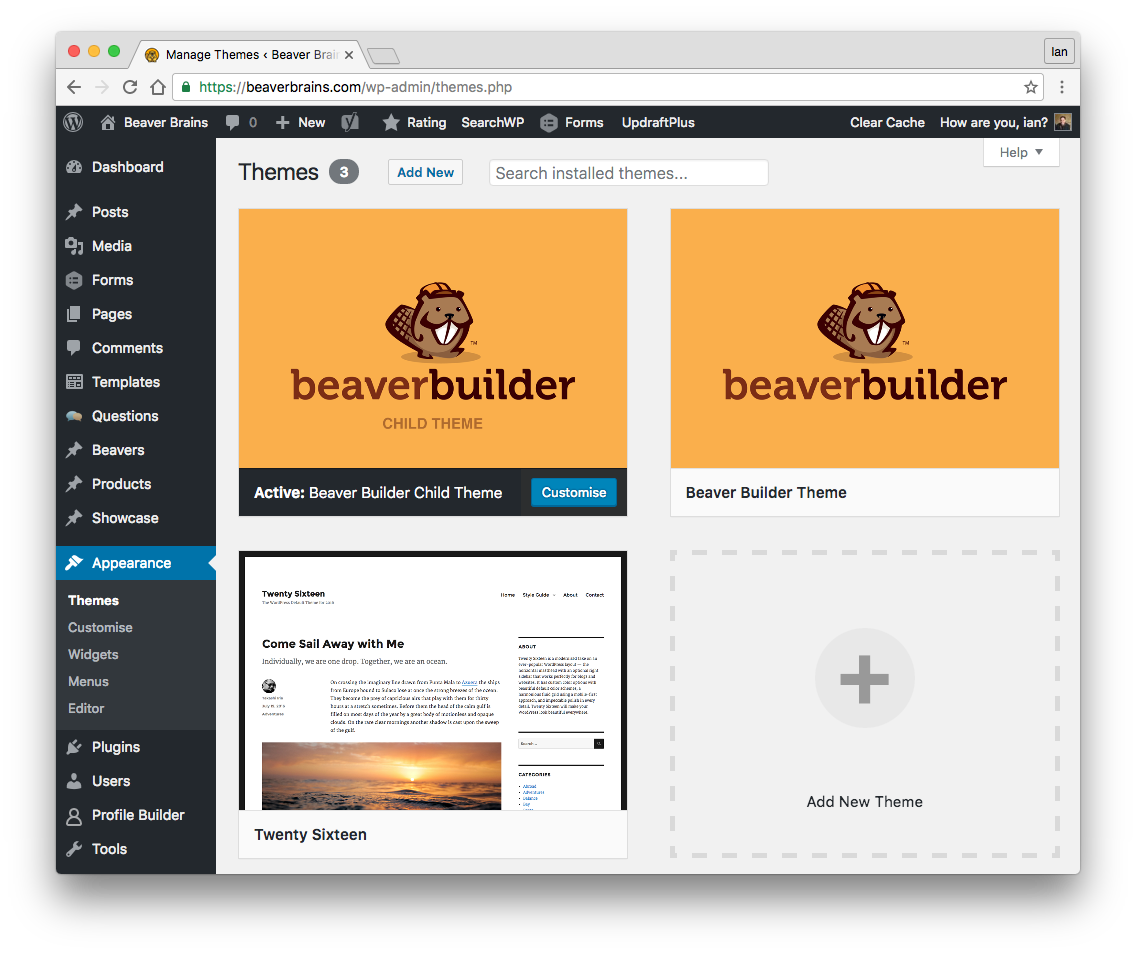
Beaver Builder supplies you with their own child theme which means you can alter and add your own code without worrying about overwriting your work when you update the main theme. The Beaver Builder child theme is a good starting point for your own customisations. If you’re code savvy then the child theme offers plenty of opportunity to build on the main theme.
Other 3rd party designers have already customised and published their own Beaver Builder child themes. There are plenty of theme authors creating Beaver Builder child themes that you can buy and install to get you started quickly. For the most part, these child themes are designed for specific industries, so find one that suits your target audience and customise it further for a unique look.
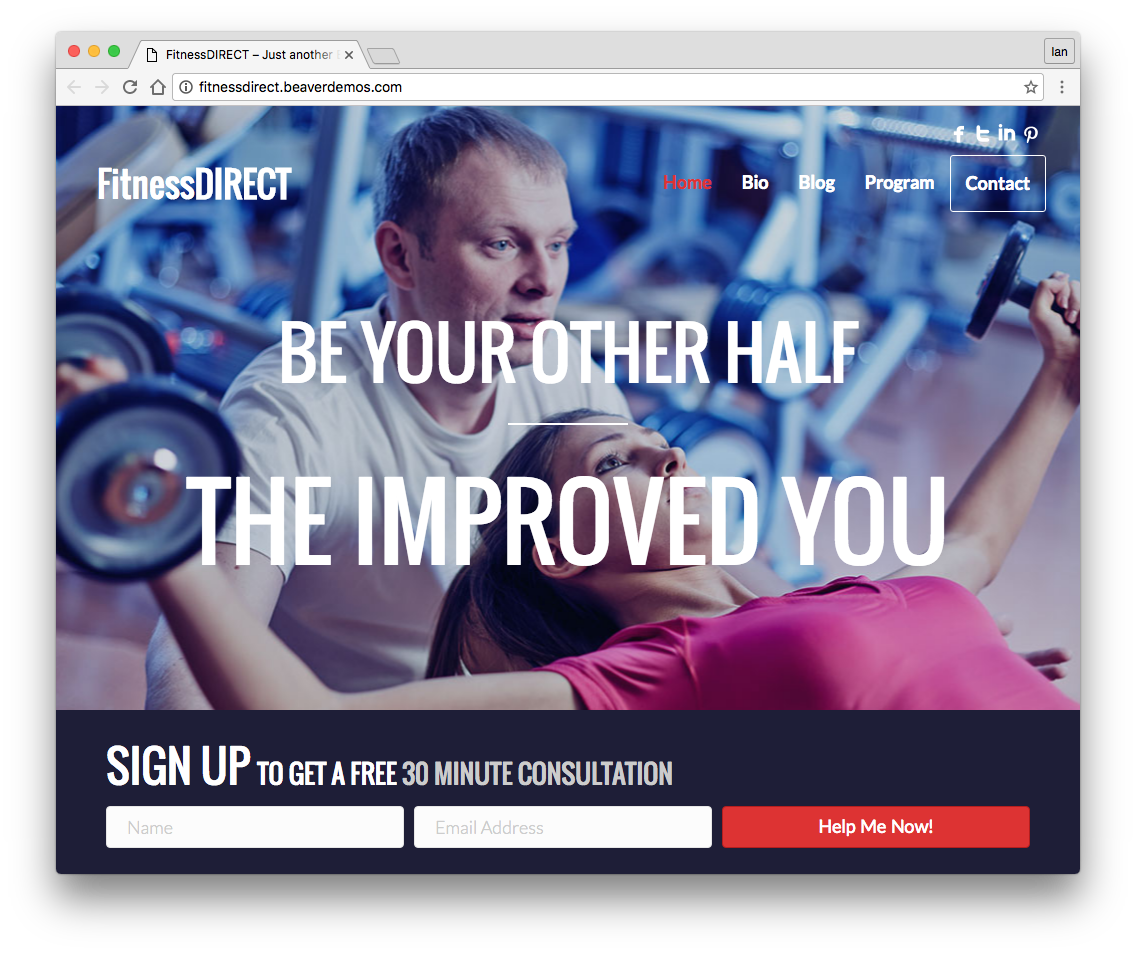
An example child theme for fitness sites by BeyondBeaver
In our next series we’ll talk you through where to find great child themes but if you search for child themes on our site, you’ll find plenty of cool resources.
Beaver Builder Shortcodes
Beaver Builder makes website creation super simple and it does so without leaving you with nasty shortcodes if you ever decide to stop using it. Some of the more well-known page builders use shortcodes to display content whereas Beaver Builder leaves your content intact if you ever decide to stop using it. This is one of the best features of the plugin because it means your carefully crafted content is always available no matter what theme or plugin you decide to use for page building.
Beaver Builder does let you use shortcodes to display content on your site, so if you’ve built a page with a subscription form on it, you can add that page to a post on your site by adding shortcodes:
You can use the shortcode with a slug or page id and you can even add multiple layouts by adding multiple IDs in the code.
Shortcodes are great for re-using content so you can centralise a layout design and update multiple pages at once wherever your shortcode is displayed. You can find out more about using the shortcode on the Beaver Builder knowledge base.
Wrapping up
So that’s about all for the third post in our series. Be sure to visit some of the resources in our sidebar where you’ll find more information about today’s topic. If you get stuck you can always check out the knowledge base for answers. Beaver Builder has a ton of great resources and articles on their knowledge base where you discover more tips and how-to articles.
Our next post will take a closer look at 3rd part developers and designers and community resources to help you create an awesome Beaver Builder site.
Subscribe
Subscribe to our blog posts to be notified just as soon as we hit that publish button!
Thanks a lot, I did not know about the ‘mega-menu’ class……
Peter Luit
Might explore the mega-menu thing a bit more – I’ve only added it to the showcase menu section and might have a play with adding more info there…